How to Edit Components
Areas of Study Section
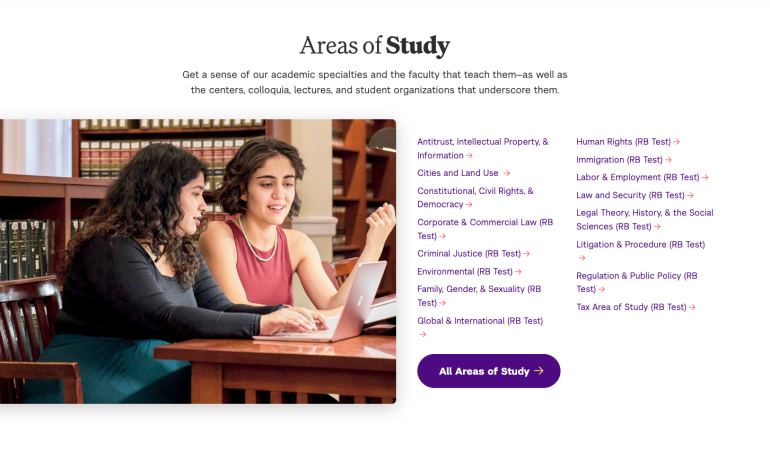
This component should not be edited; it is used only to point to the Areas of Study section of the website.
Body Section
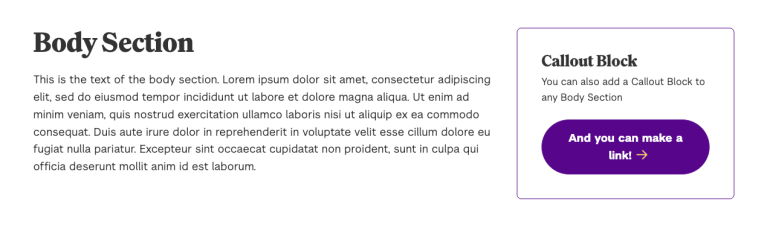
The Body Section component looks and acts like the regular Body of the page – the only difference is that you can drag and drop it between the other components.
- Read: How to Edit a Body Section
- Go to "Page Components” and click "Edit" on the Body Section
- Make your changes.
- To edit the Callout Block, click “Edit” and then make your changes to the Title and Description fields.
- Scroll to the bottom of the page and click “Save”
Edit view of Body Section: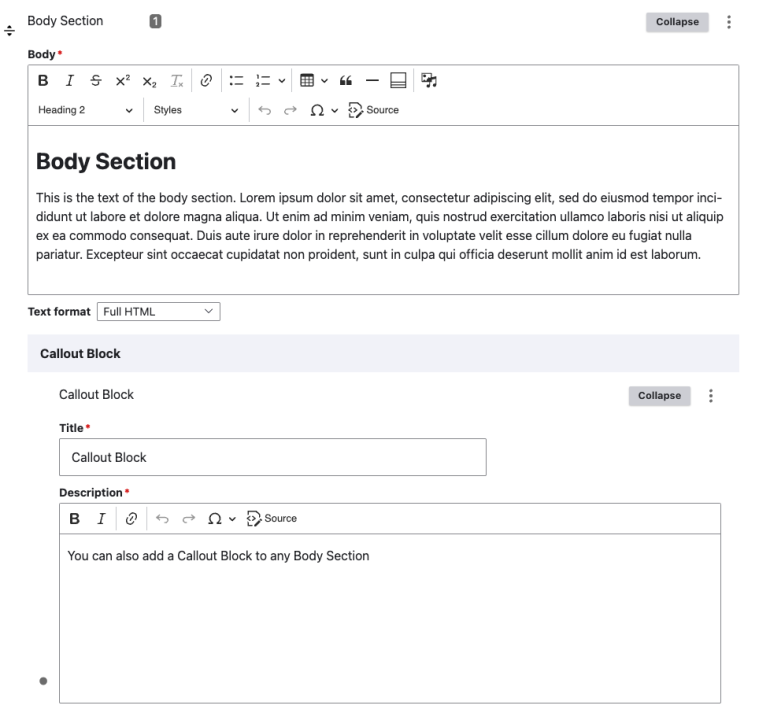
Card Section
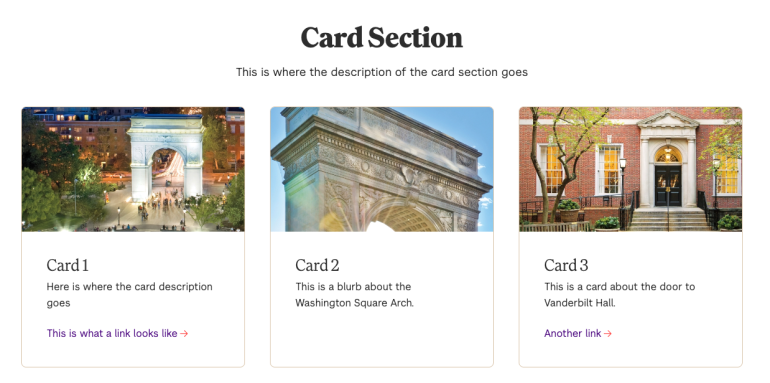
The Card component consists of boxes—or cards—that may include an image, title, description, and link, or can include a statistic. There are three cards per row on a page.
- Read: How to Edit a Card Section:
- Find the Card Section listed under “Page Components” and click “Edit.”
- You can edit the Title, Description, and Link of the Card Section
- You can also click “Edit” next to an individual card you wish to modify.
- Each card requires a Title. Most cards will also have an image and a description
- Images for Cards should be cropped to 960 x 540 (Hero images and Gallery-size images from the old site can also be used)
- If the card is a Statistic, the number goes in the “Statistic” field, and the text explaining the number goes in the “Title” field.
Edit view of Card Section: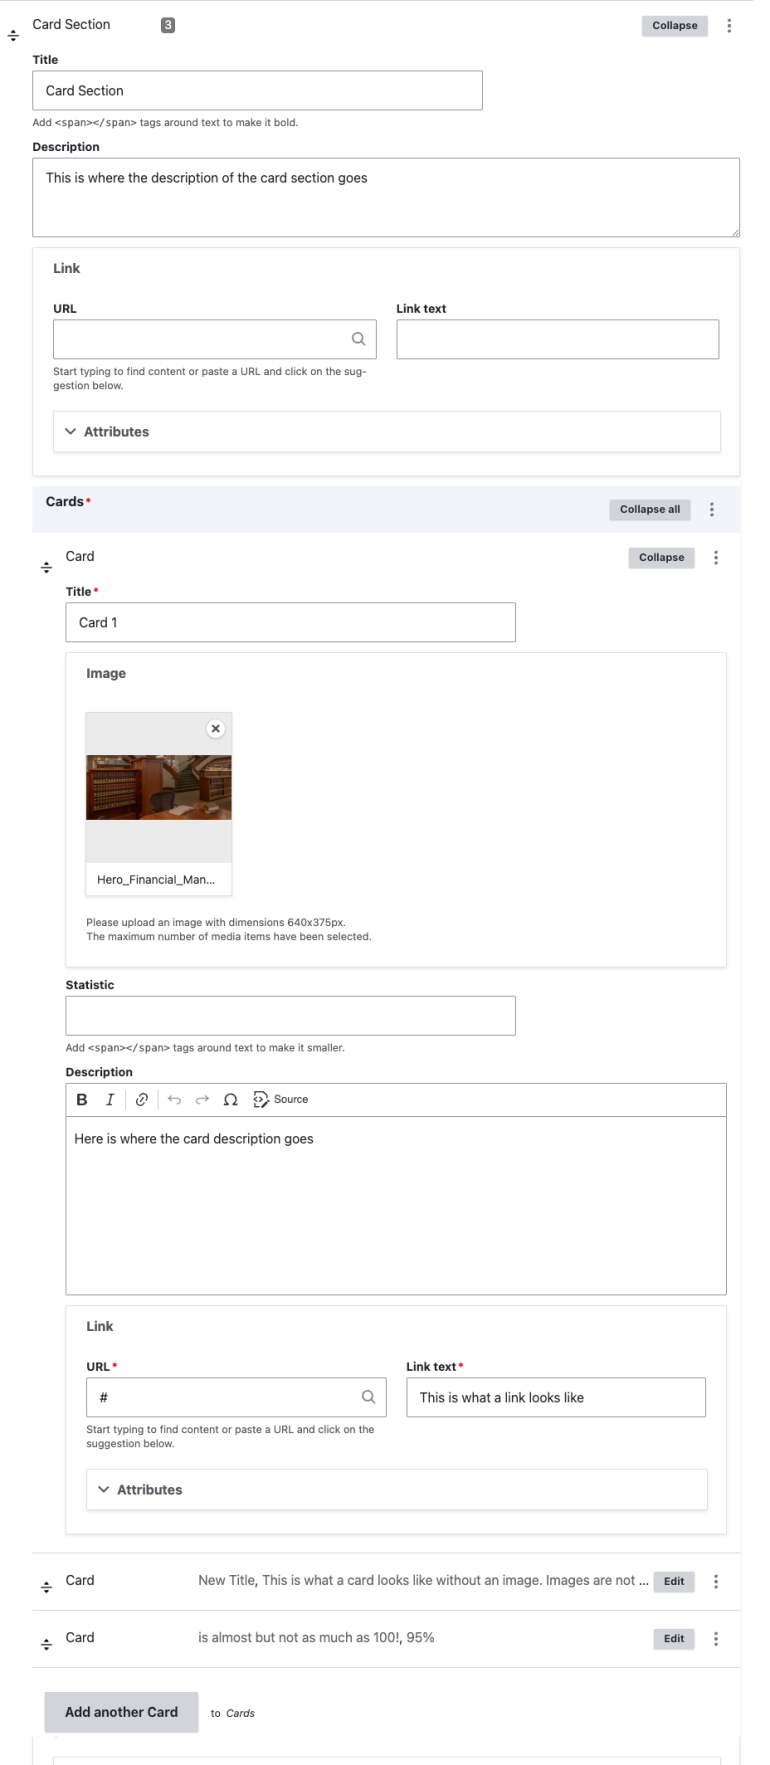
Checkerboard Section
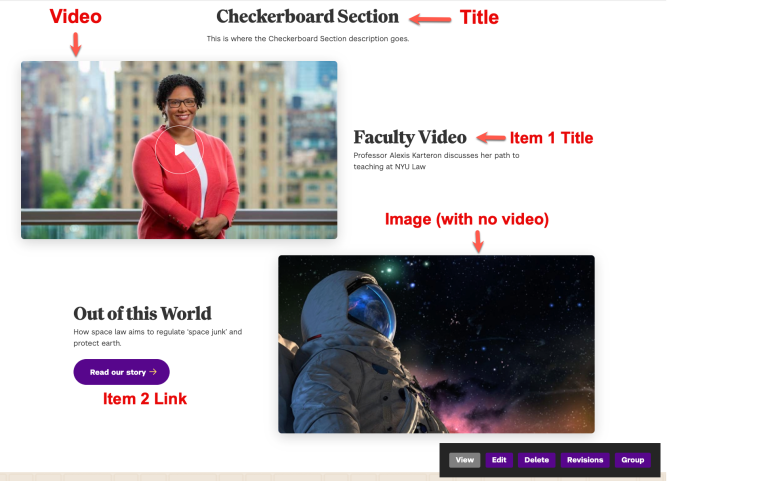
The Checkerboard component consists of images or videos alongside text, with the images and videos alternating sides of the page (like a checkerboard).
- Read: How to Edit a Checkerboard Section
- Under “Page Components,” find the “Checkerboard Section” and click “Edit”
- You can edit the Title and Description of the entire section, or you can click “Edit” on the Checkerboard Item you wish to update.
- To add another item, click “Add another Checkerboard Item.” All checkerboard items require a Title and an Image. You may also fill out:
- TItle Link
- Description
- Link (URL and Link Text)
- Video (You will still need fill out the Image section with the start screen)
- Caption (For your image)
- Images for Checkerboards should be cropped to 960 x 540 (Hero images and Gallery-size images from the old site can also be used)
- Once you have made all your changes, scroll to the bottom of the page and click “Save.” You do not need to collapse the items you have been working on in order to save them.
Edit view of Checkerboard Section: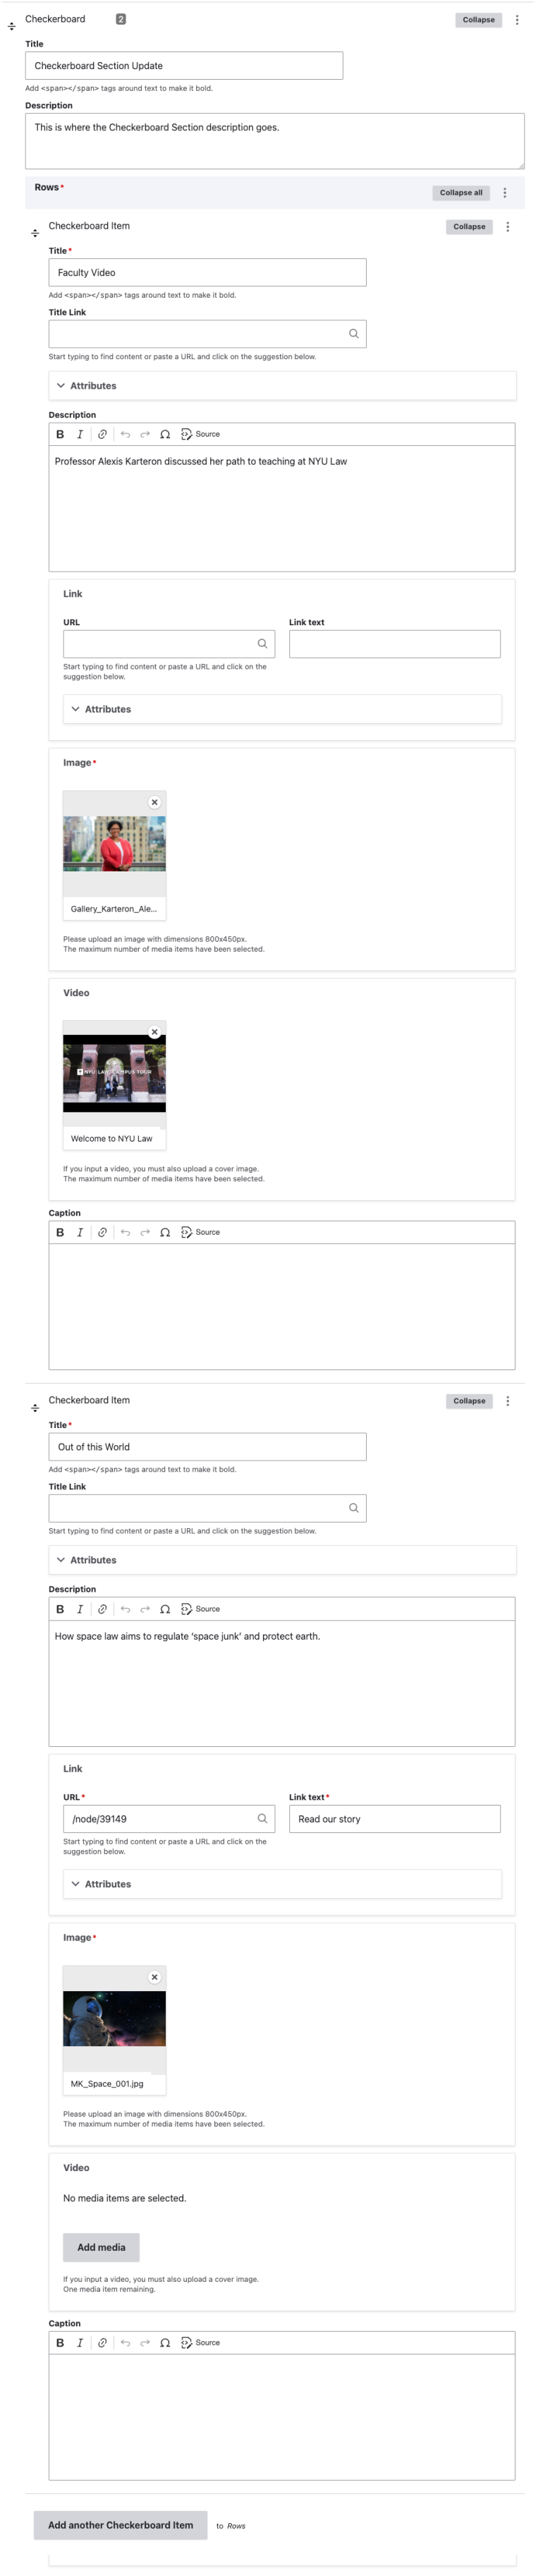
Contact Section
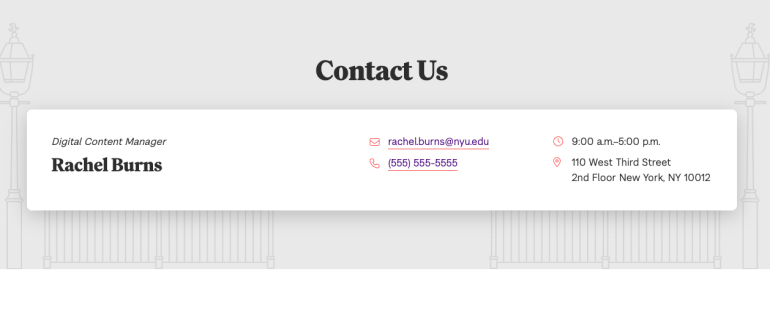
The contact section is usually at the end of a page, and can include the Name, Title, Website, Email, Phone Number, Fax, Office Hours, Location, of multiple contacts.
- Read: How to Edit a Contact Section
- Under “Page Components,” find the “Contact Section” and click “Edit.”
- Find the Contact you wish to update and click “Edit.” You can then make changes to any of the fields for that contact.
- If you wish to add a contact without removing the current one, click the “Add another Contact” button.
- The only required field is “Name.” All other fields are optional.
- Once you have made your changes, scroll to the bottom of the page and click Save.
Edit view of Contact Us Section: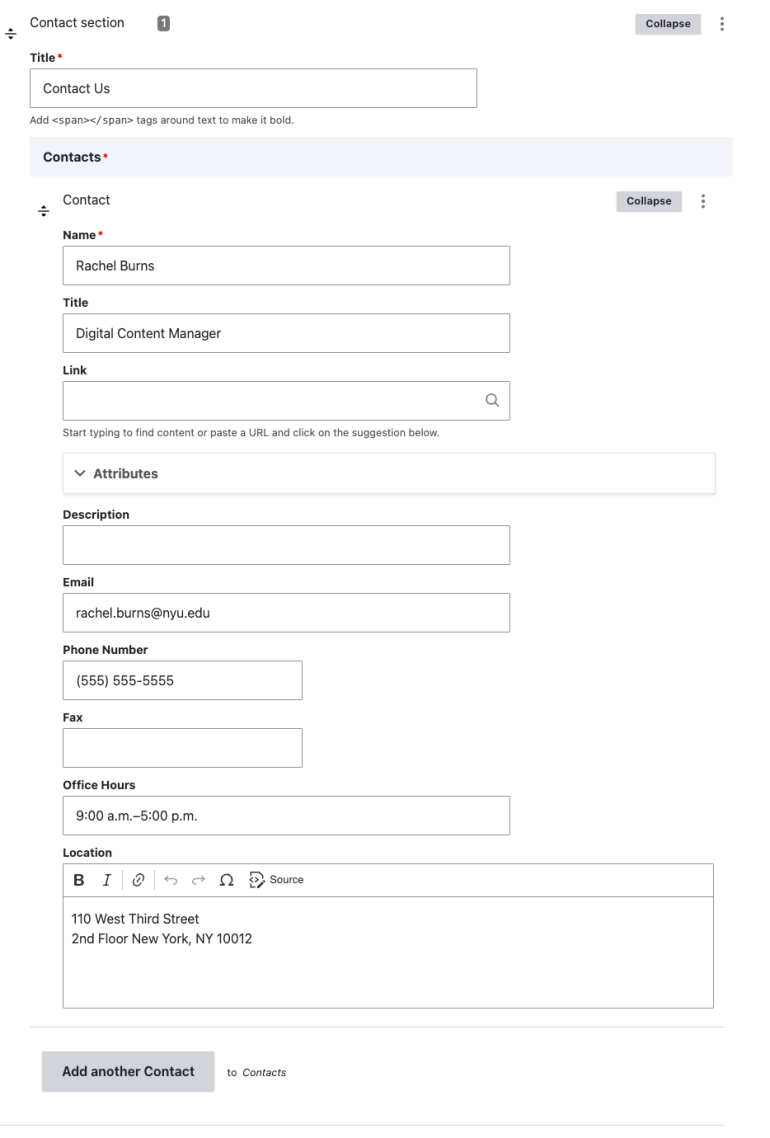
Expandable Section
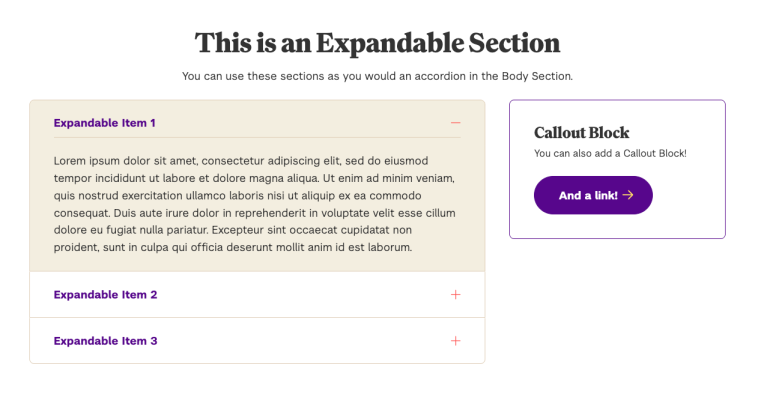
The Expandable Section acts like an Accordion section in the Body Section.
- Read: How to Edit an Expandable Section
- Under “Page Components,” find the “Expandable Section” and click “Edit.”
- You can update the section’s title and description.
- If you wish to update a specific expandable item, click the “Edit” button next to it.
- You can edit the Title and Content of the item in those respective fields.
- You can drag and drop the expandable items to change the order in which they appear.
- You can also click “Add another Expandable Item” to create a new one. Each item requires a Title and Content.
- To remove any item, click the three dots next to the “Edit” button and select “remove.”
- If you need to edit the Callout Block, you can click the appropriate “Edit” button and then make your changes to the text field that expands from there. The Callout Block also has an optional field for a link.
- Once you have made your changes, scroll to the bottom of the page and click “Save.”
Edit view of Expandable Section: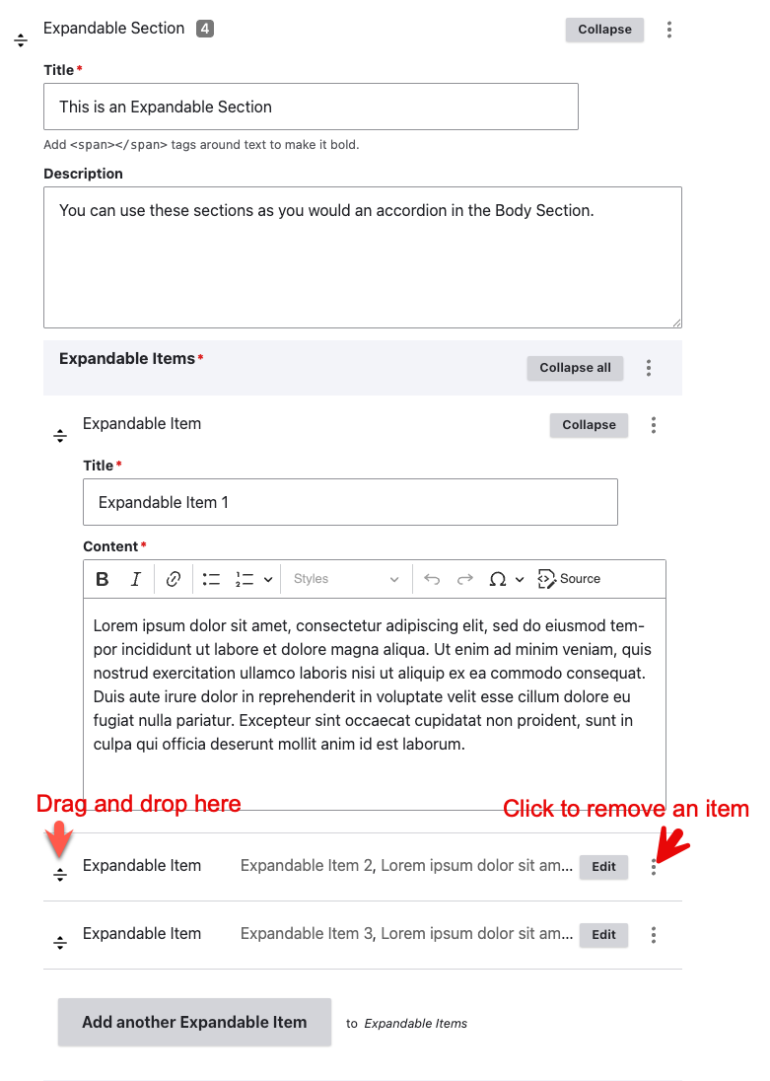
Journey Overview Section
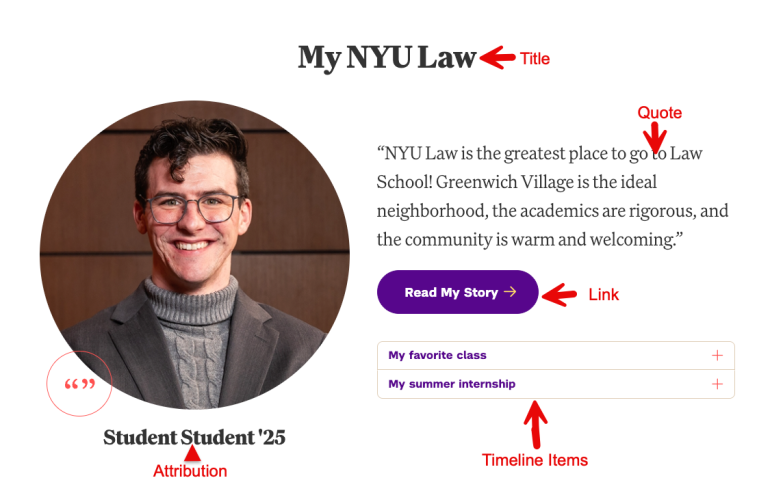
The Journey Overview section is used primarily for student quotes. It is possible to link out to another page, and also to include expandable timeline items to accompany the quote.
- Read: How to Edit a Journey Overview Section
- Under Page Components, find the “Journey Overview Section” and click “Edit.”
- All Journey Overviews require a Title, Image, and Quote.
- You do not need quote marks around the text in the quote box; those are added automatically.
- The image is square and should be cropped to 460x460.
- To edit a timeline item, select the one you wish to update under “Timeline Items” and click the “Edit” button next to it.
- To remove a timeline item, click the three dots next to the “Edit” button and select “Remove.”
- You can also add another timeline item using the button “Add another Timeline Item.”
- Once you have made your changes, scroll to the bottom of the page and click “Save.”
Edit view of Journey Section: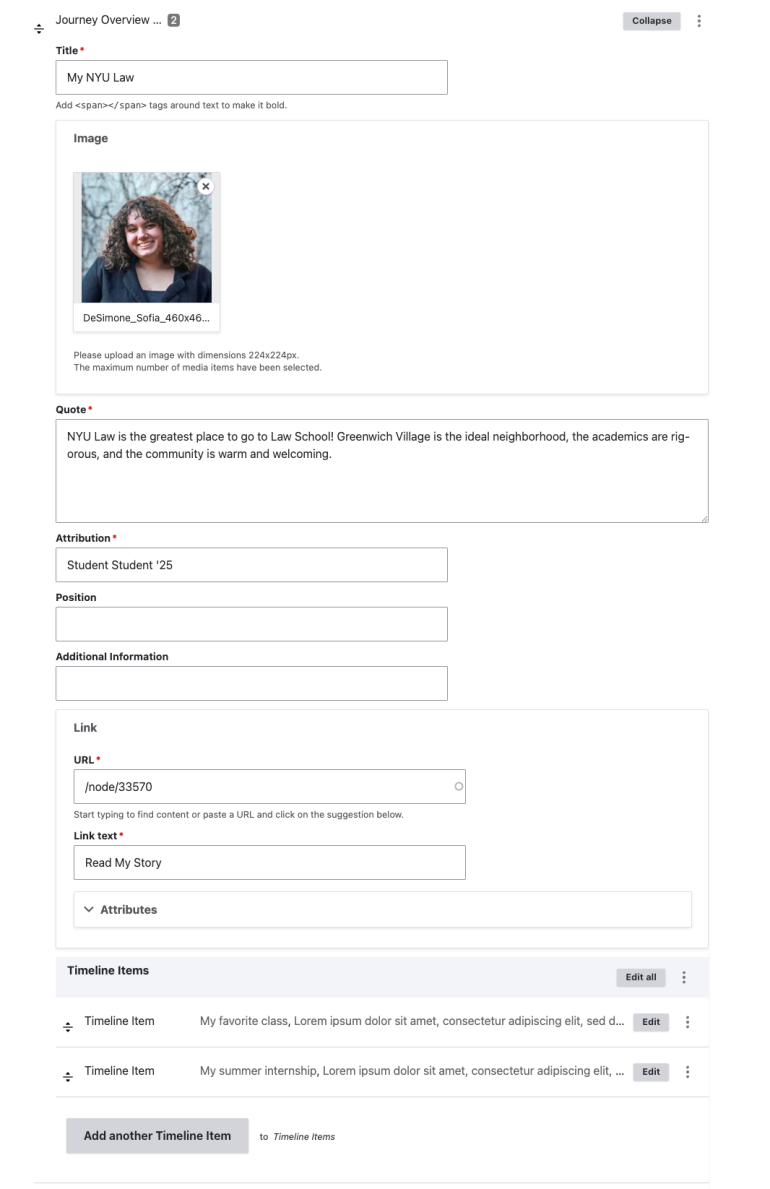
Links Section
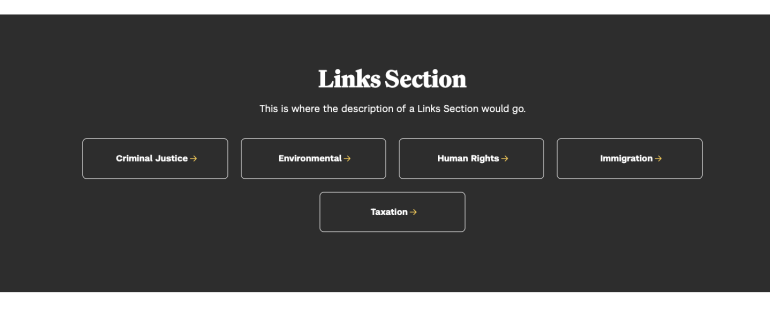
A Links Selection allows you to display a series of links in a horizontal list. Note that this is different from the navigation on a landing page, which is created automatically based on the menu.
- Read: How to Edit a Link Section
- Under “Page Components,” find the “Links Section” and click “Edit.”
- Each Links Section has a required Title field, and an optional Description field.
- Each Link has two fields: URL and Link text
- To add a URL, start typing the title of the page and select the correct one from the options that appear.
- You can drag and drop Links to reorder them, click the “Remove” button to remove one, or click “Add Another Item” to add another Link.
- Once you have made your changes, scroll to the bottom of the page and click “Save.”
Edit view of Link Section: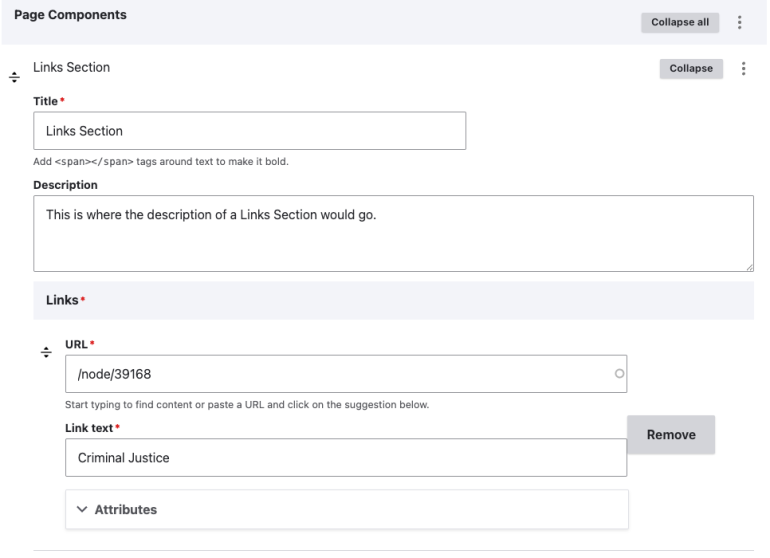
Listing Section

- Read: How to Edit a Listing Section:
- Under “Page Components,” find the “Listing Section” and click “Edit.”
- Each listing section has a required Title and an option Description.
- Find the list item you wish to update and click the “Edit” button.
- The only required field for each list item is the title, but it looks best to also include an image and a short description. There is also an optional link field for the item title.
- Images in list items should be 960x540.
- You can drag and drop list items to reorder them, and can add new ones by clicking the “Add another item” button.
- To delete a list item, select the three dots to the right of the “Edit” button and select delete.
- Once you have made your changes, scroll to the bottom of the page and click “Save.”
Edit view of Listing Section: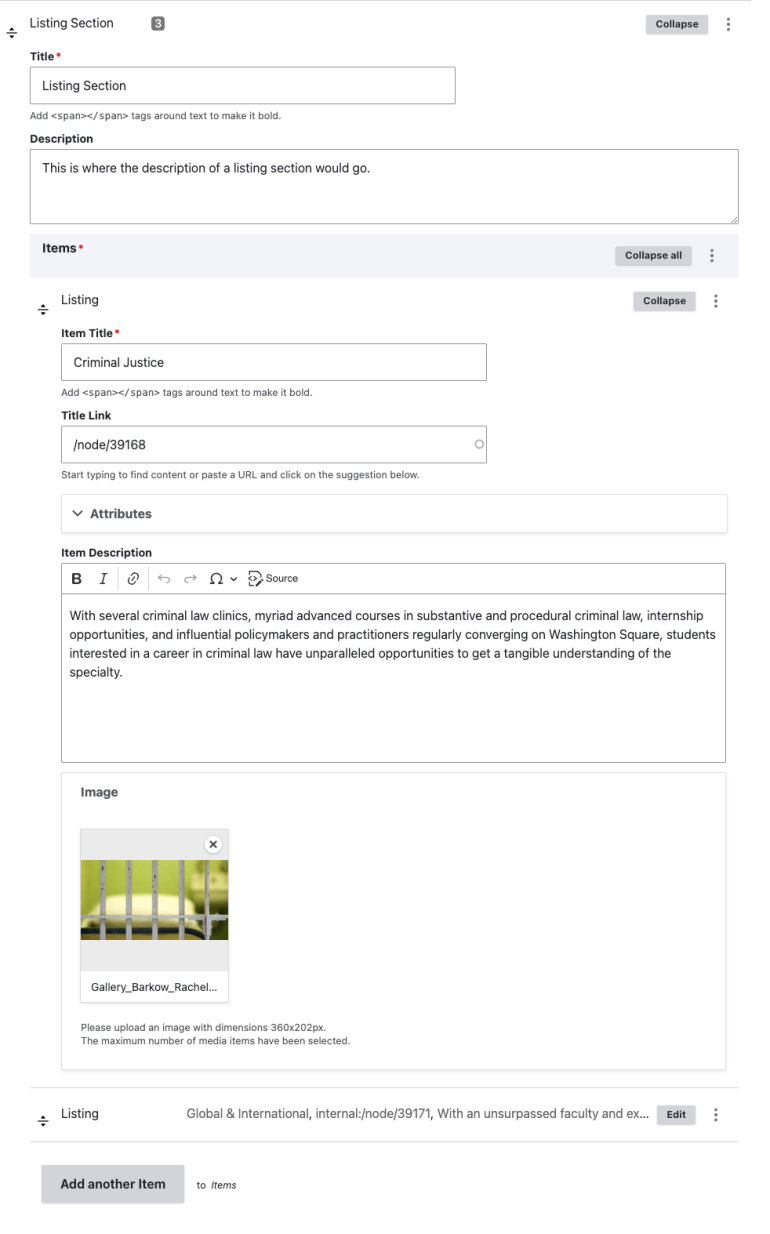
News Section
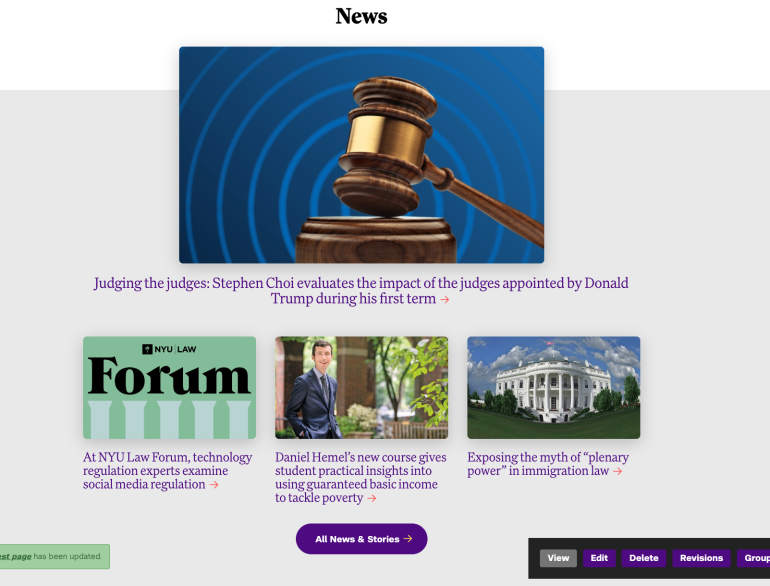
The News Section dynamically pulls news stories from the NYU Law website onto a page. It is possible to tag news sections so that it only pulls news about a certain center, professor, or only stories about faculty or alumni. If you would like to add a news section to your pages, please contact the communications office.
News sections can also have a Featured News item–the one on the top row that is larger than the three items below. If you have a news story with a Featured News item on your page, it is possible to select which item is featured.
- Read: How to Edit a Featured News item
- Under “Page Components,” find the “News Section.”
- Click “Edit”
- Begin to type the headline of the new story you would like to feature in the “Featured News” field, and select the correct headline from the options that appear.
- Scroll to the bottom of the page and click “Save.”
Edit view of Featured News: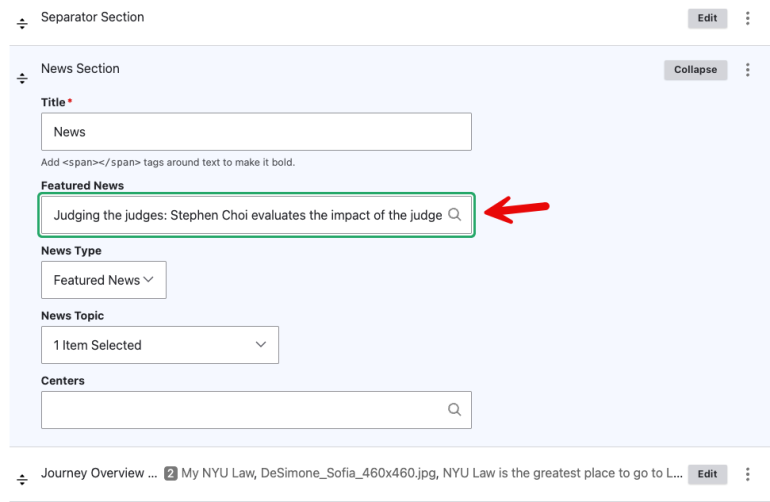
Profile Section

The Profile Section is used to create a grid of headshots and names. This is often used for lists of fellows, faculty, or administrators in center pages.
- Read: How to Edit a Profile Section
- Under “Page Components,” find the “Profile Section”and click “Edit.”
- You can edit the Title (which is required) or Description (which is not required) for the profile section.
- Click the “Edit” button next any individual profile you wish to edit.
- The Name and Photo fields are required. You also have the option of adding a link to a longer bio page, such as a faculty profile.
- Please note that all profile photos are horizontal and should be cropped to 640x480l. All faculty members have correctly cropped headshots in the media library, and which you can find by searching for “OHO_LASTNAME_FIRSTNAME”
- The text field is usually used for the title of the individual in the profile.
- To reorder the profiles, use the drag and drop buttons to the left of each profile.
- To delete a profile, click the three dots to the right of the edit button and select delete.
- You can also add new profiles by clicking “Add another manual profile.”
- Once you have made your changes, scroll to the bottom of the page and click “Save”
Edit view of Profile Section: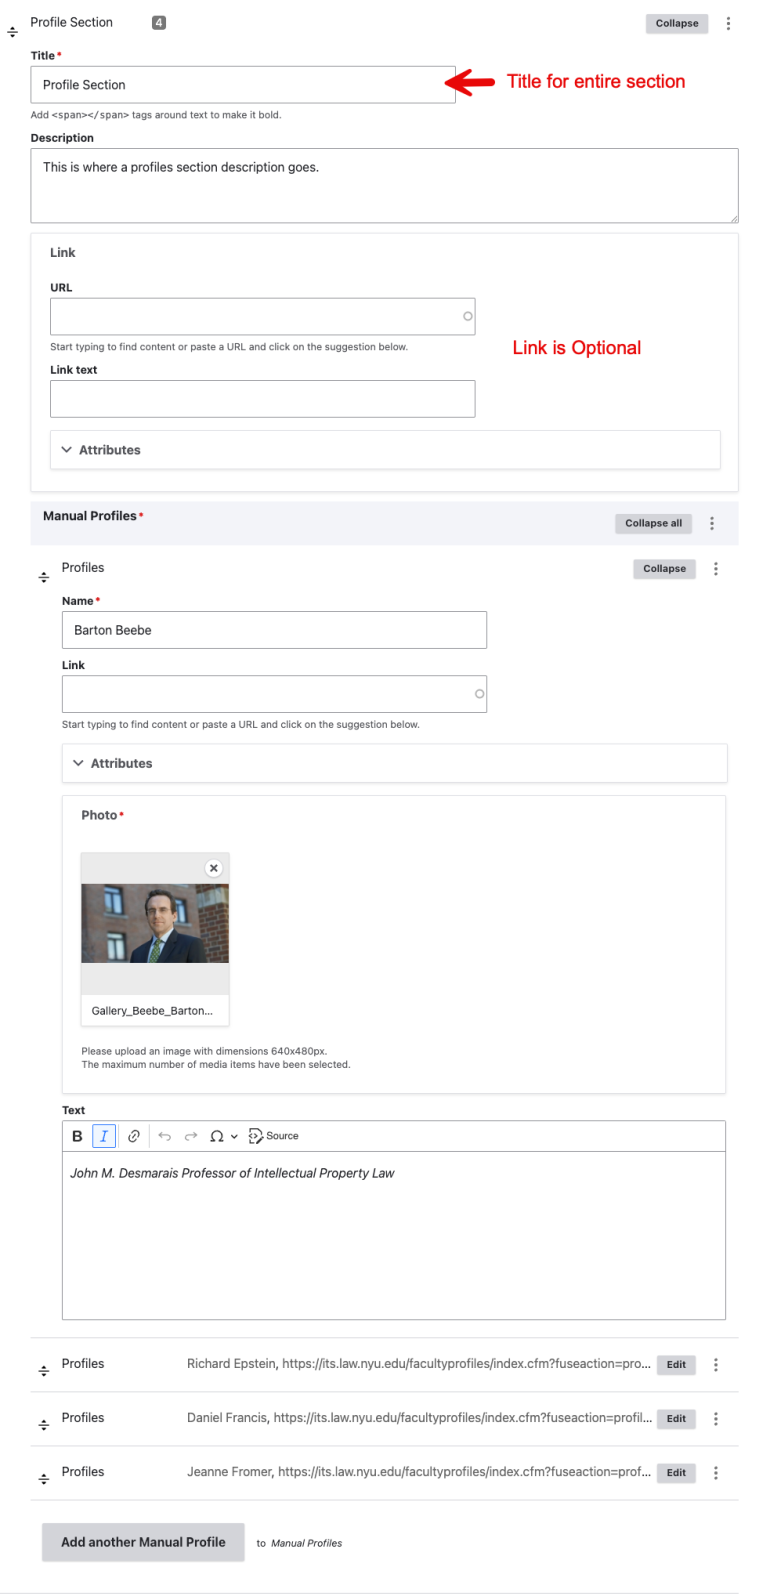
Separator Section
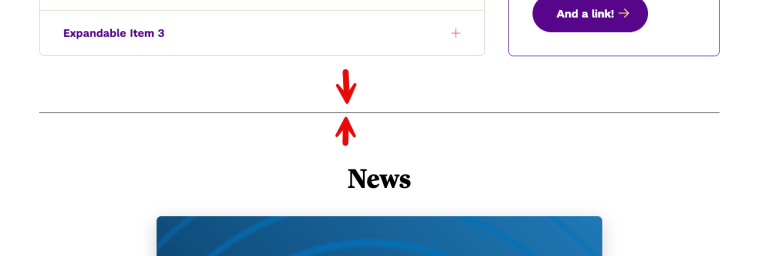
A Separator Section is a horizontal line that can appear between components. You can use it for aesthetic reasons, or to help organize your content.
- Read: How to Edit a Separator Section
To move a Separator:
- Click and hold the arrows to the left of the Separator Section to drag it to the correct location in your page components, and drop it there.
To add a Separator:- In the edit view, underneath the existing components, select “Separator Section” from the dropdown list of component types
- Click the button “Add another page Component.”
- Click and hold the arrows to the left of the Separator Section to drag it to the correct location in your page components, and drop it there.
To delete a Separator:- Click the three dots to the right of the “Edit” button and select delete.
Edit view of Separator Section:
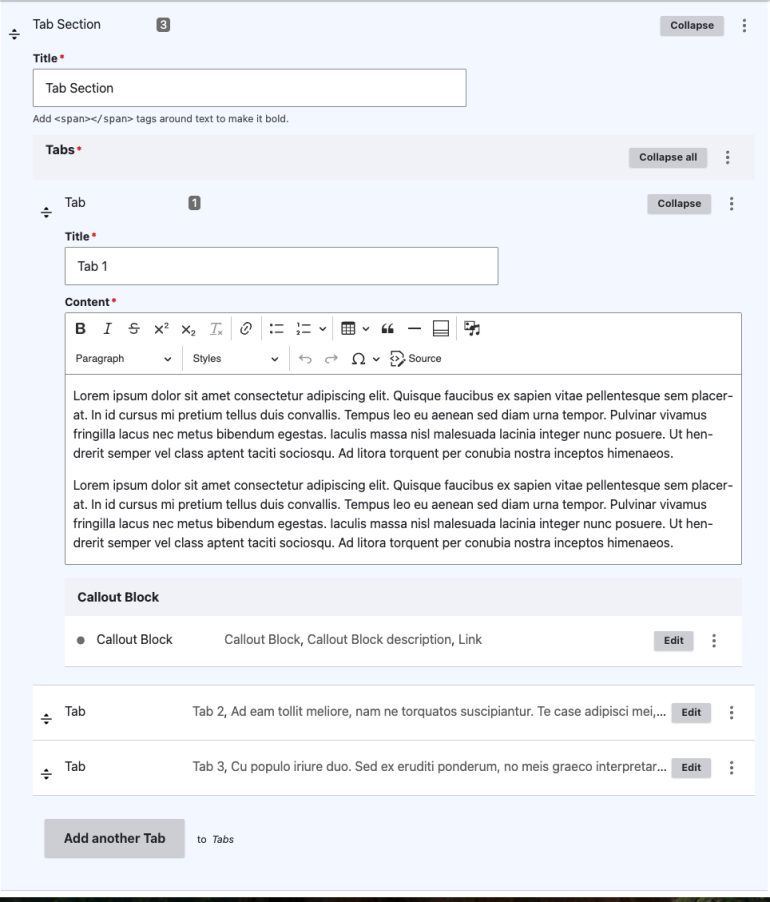
Tab Section
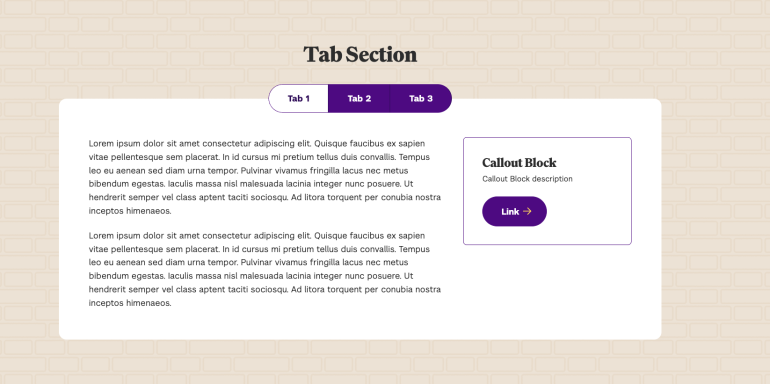
The Tab Section is a block that allows users to toggle between boxes of text. This is particularly useful for information-dense pages. Each tab can also include a Call Out Block and a Link.
- Read: How to Edit a Tab Section
- Under “Page Components,” find the “Tab Section” and click “Edit.”
- You can edit the Title of the Tab Section.
- Click the “Edit” button next to the Tab you wish to update.
- You can edit the Title and Content fields of the tab, which are required.
- To edit a Callout Block, click the “Edit” button next to the Callout Block.
- If you wish to remove a Callout Block, click the three dots next to “Collapse” and click “Remove.”
- If a Tab does not have a Callout Block, you can add one using the “Add Callout Block” button.
- Once you are done with your changes, scroll to the bottom of the page and click save.
Edit view of Tab Section: