Remediating PDFs - Advanced Topics
Topics:
- Fixing Tagged Annotations
- Regularity
- Tables
- Reading Order
- Footnotes, Hyperlinks, and Annotations
- Chart and Graphs Data
Fixing Tagged Annotations
For information on Fixing Tagged Annotations, please see Footnotes, Hyperlinks, and Annotations.
Regularity
For information on Regularity, please see Tables.
Tables
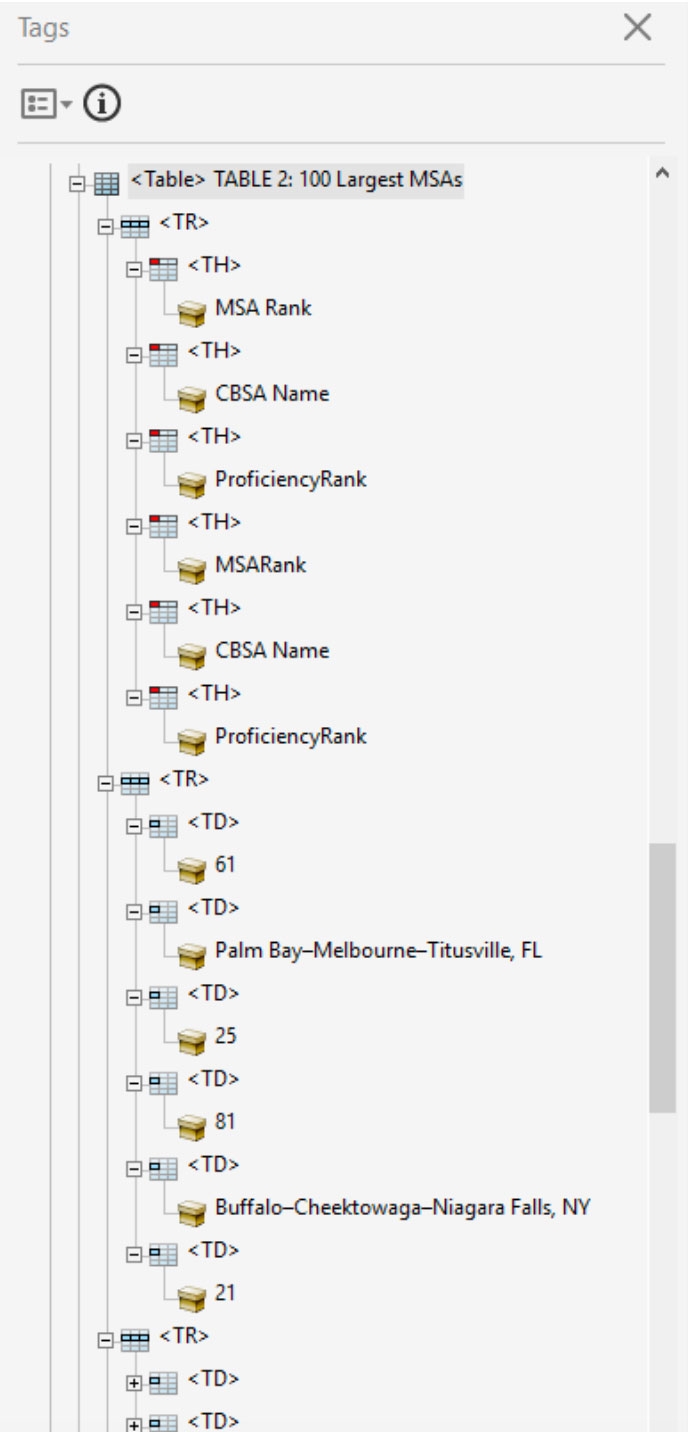
- Check to see if the Autotag feature tagged all tables in the document correctly. Each table should have its own “Table” tag, which contains tags for each Row (noted as <TR>), each header (noted as <TH>), and each Cell (noted as <TD> ).
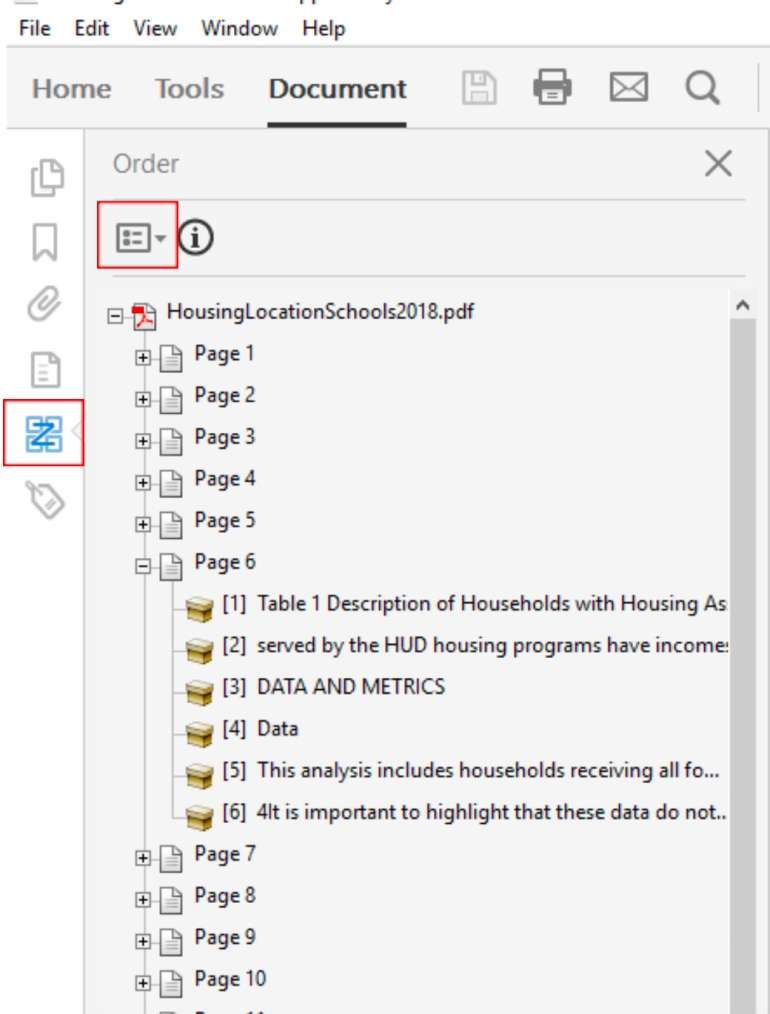
- If a table hasn’t been properly tagged, you’ll need to use the “Touch Up Reading Order Tool”. Navigate to the “Order Panel” and click the arrow next to the Info circle to bring it up:
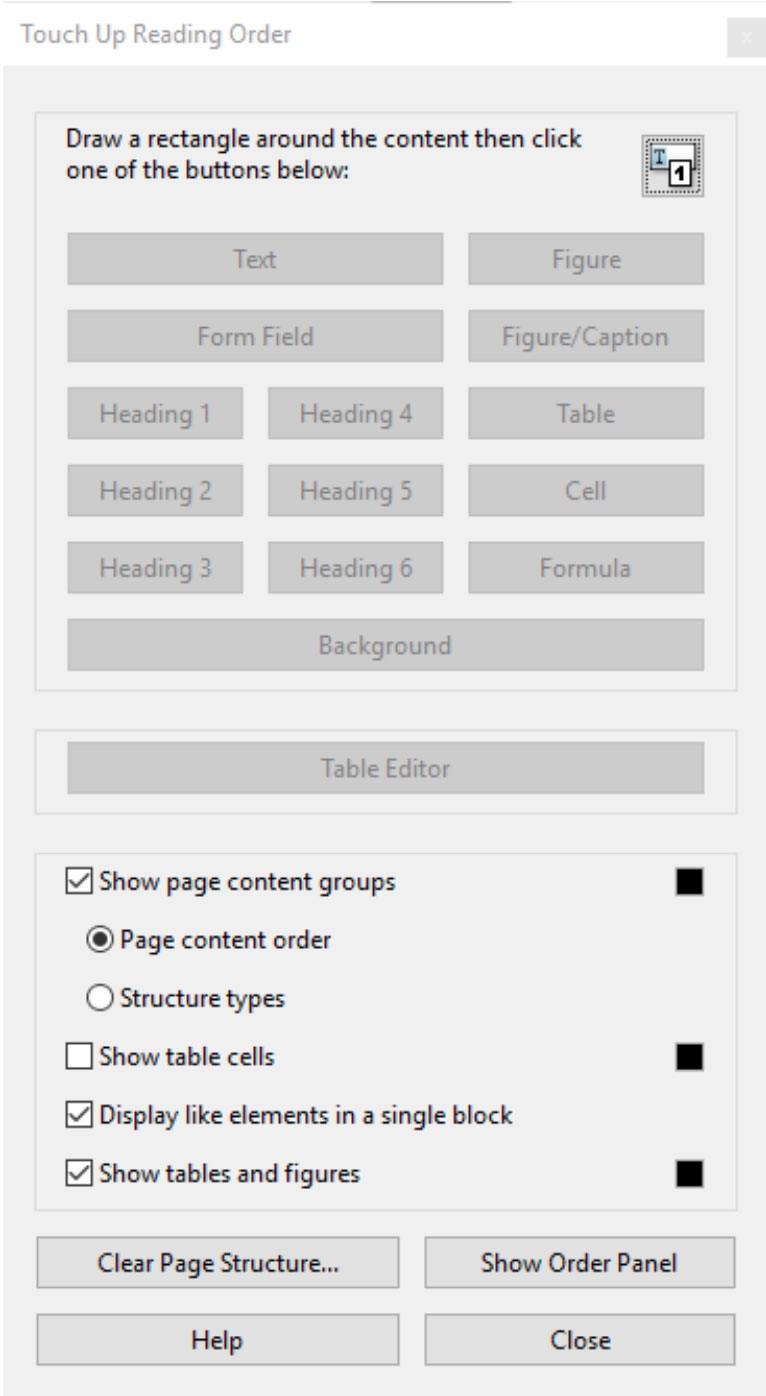
- Draw a rectangle around the entire table, excluding the title or a single-column header row. (Individual column headers should be selected.)
- Click the “Table” button
- Return to the “Tags” panel and verify correct tagging structure.
- Note: If the Touch-Up Reading Order Tool improperly merges or splits cells in the table, you’ll have to fix them manually in the “Content” panel by dragging the content into the appropriate container. Don’t waste time fixing the Tags, they will adjust automatically once you structure the content correctly.
- Once the content is correctly structured and tagged, run the Accessibility Checker Again. If you get a “Regularity Error” on the table, you need to further repair the structure using the “Table Editor”
- With the “Touch-Up Reading Order” tool visible, click on the number on the top left corner of the table. Then Click “Table Editor”
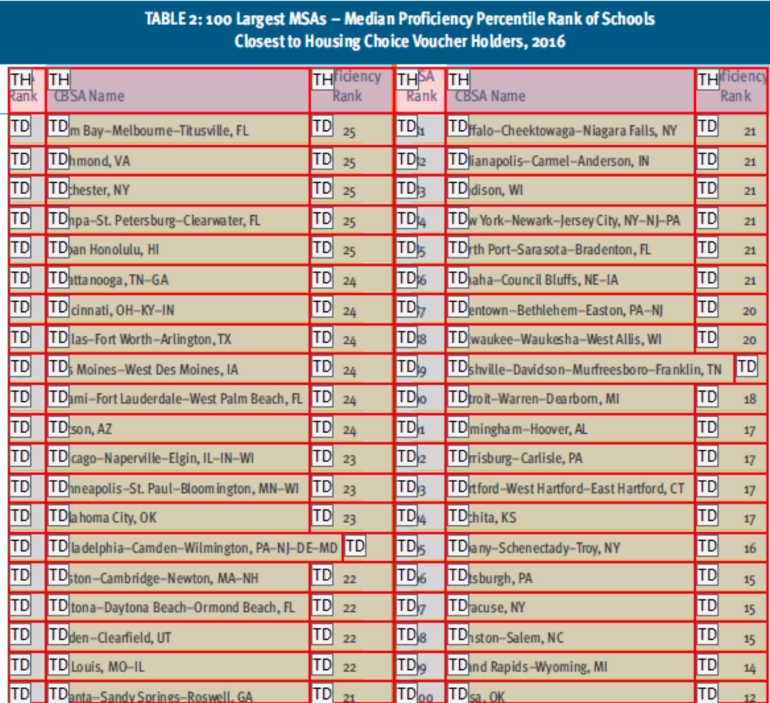
- Adjust the column spans so that they cover 1 column each. If the table structure still seems wrong (i.e. it doesn’t cover the entire width of the table or you still get a Regularity Error), then experiment with 2-column widths for the wider columns until it looks right.
- A properly structured table in the “Table Editor”:
- View of Same Table Shown Above in the “Tags” Panel:
- Important Note: Unfortunately, there is no way to “Autotag” selected pages in a PDF file. If you are working with a file with Tables that need to be manually remediated as described above, you will likely need to work from an untagged version of the file to remediate the tables, then transfer the pages that have tables into an auto-tagged version of the document to have Adobe tag the rest of the non-table content. You’ll have to manually tag any non-table content that appears on the same pages as the tables themselves.
Reading Order
- Go to the “Reading Order” panel and check every page to ensure a screen reader will move through the content-blocks in the correct order.
- Make corrections by dragging and dropping as necessary.
- Tip: Try not to drag and drop figures and tables. Instead drag and drop text blocks in either direction to achieve the correct reading order. If you do need to drag a table or figure, run the checker again to make sure the tags weren’t affected.
Footnotes, Hyperlinks, and Annotations
- Each Superscript Footnote Needs a <reference> tag
- Each footer footnote should have a <note> tag, then a nested <lbl> tag for the number, then the content
- If the footnote contains a hyperlink, the URL should have a <link> tag, then a nested <link-objr> tag, then the URL.
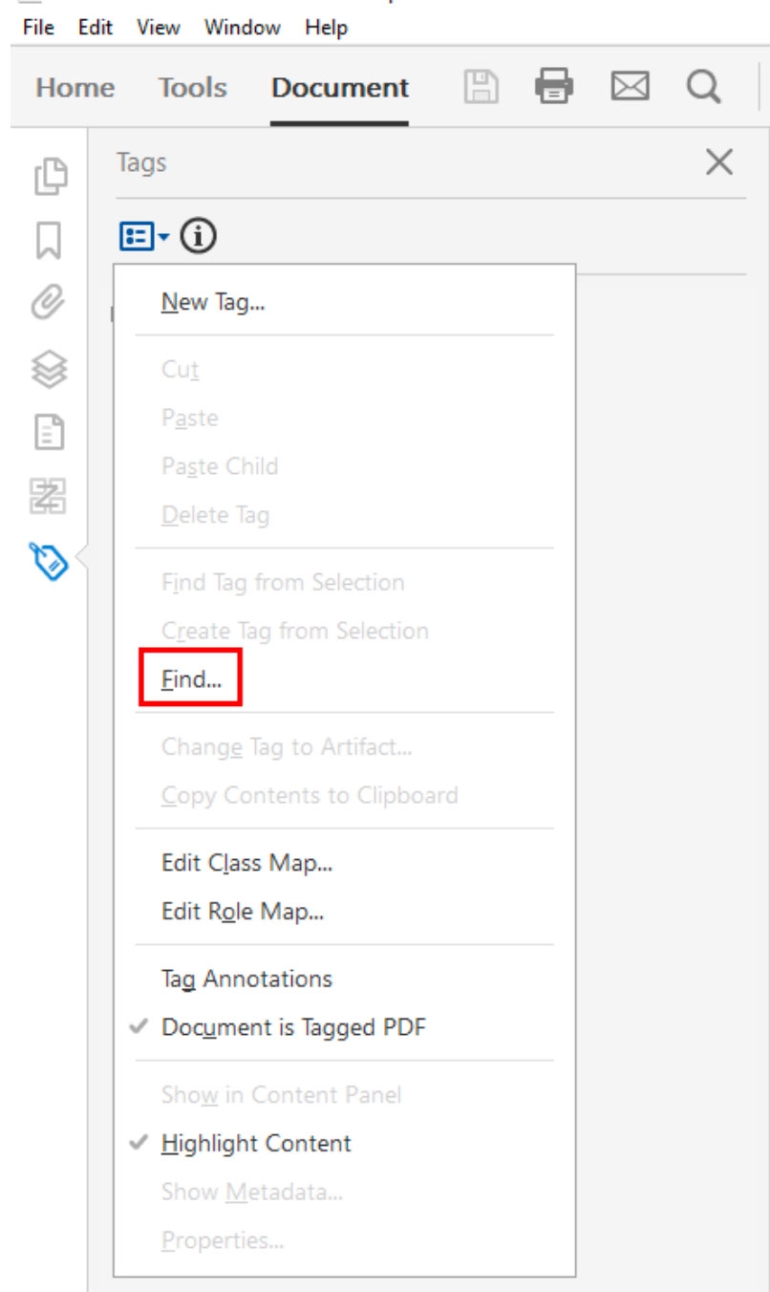
- If your accessibility check returned a “Unmarked Annotations” error, go to the “Tags” panel, click the drop down, then click “Find.”
- In the “Find Element” dialogue box, select “Unmarked Annotations” from the dropdown menu and check the “Search Document” radial button.
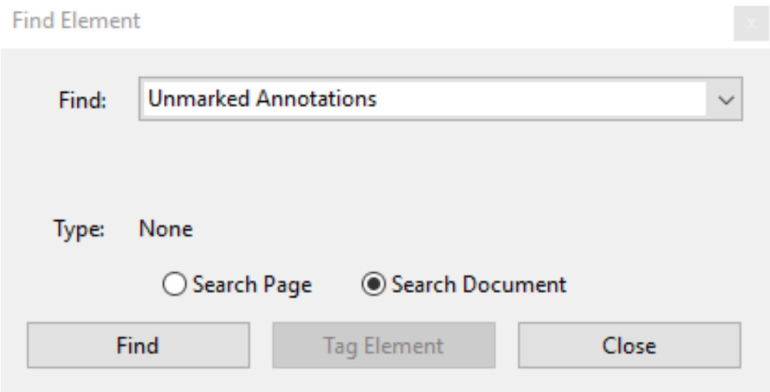
- Click “Find”
- For each Unmarked Annotation Found, click “Tag Element”
- Note: Follow these same steps for any “Unmarked Link” errors
- Note: Hyperlinks that break across rows/lines are almost always read incorrectly by Acrobat. To fix one of these links, use the following steps:
- Click “Tools”, then Click “Edit PDF”
- Click the dropdown menu on “Link”, then click “Add/Edit Web Link”
- Right click the link that breaks across lines, then on the edit menu, click “Delete”. Repeat if there is a second link for the second line.
- Choose the “Text Selection Tool” (next to the hand) and select the entire hyperlink address.
- Press “Ctrl-C” or Right click and click “Copy”
- Right click and then click “Create Link”
- In the ensuing dialogue box paste the full URL of the link
- Check to ensure the link has been properly created and reflects the full URL address. You may need to further edit the link URL in the “Content” panel if it includes text from before or after the URL.
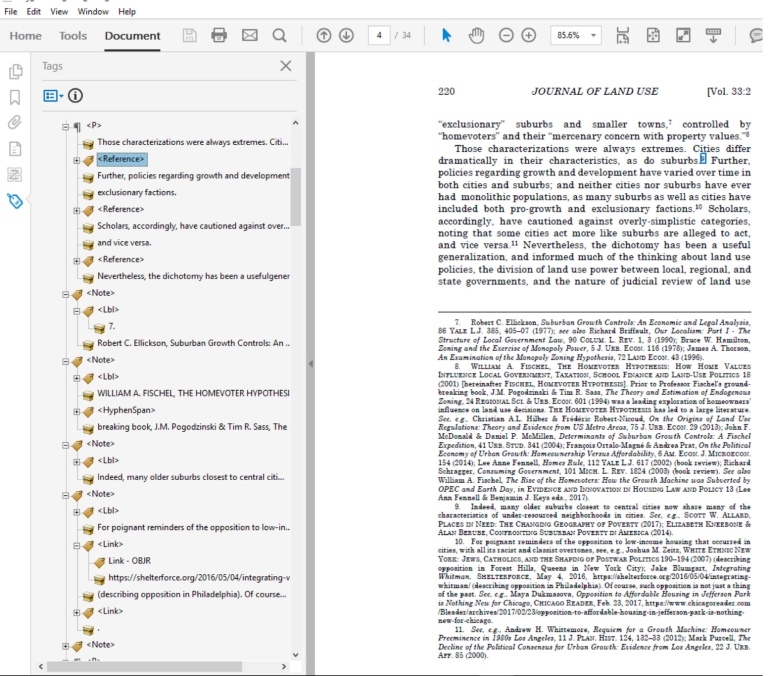
- Properly tagged references/footnotes:
- Important Note: If you get the message 'Tagged annotations - Failed' after running a full accessibility check in Acrobat. Watch this video about fixing annotations to see the process for fixing these items. The process may look complicated at first, but by following the steps shown in the video you can fix many broken annotation links in just a couple minutes.
Chart and Graphs Data
Info coming soon.