-
 Vanderbilt Hall
 -
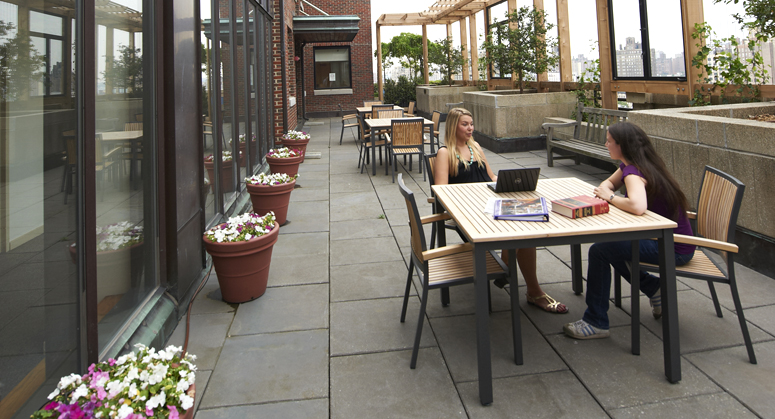 Students studying at D'Agostino Hall
 -
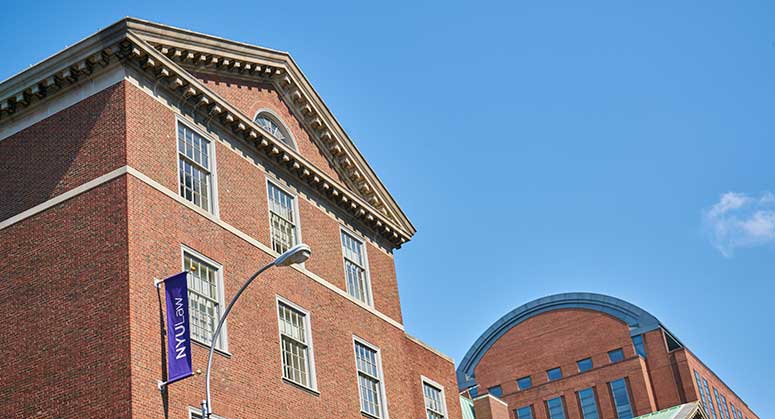 Vanderbilt Hall
 -
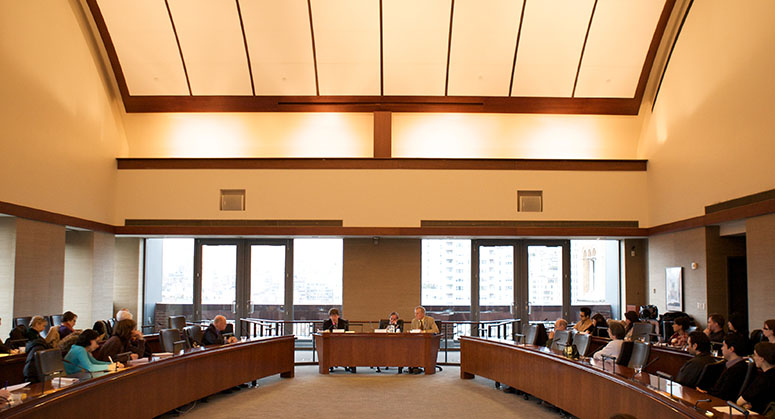 Lester Pollack Colloquium Room
Photo galleries are often used on center homepages or department landing pages to give a sense of the breadth of the center or department's work. They can also be used to showcase images from a particular event.
Now, all web editors can edit existing photo galleries, as well as create new ones to add to your pages.
Note: All photos must be cropped to a specific gallery size before they can be added to a photo gallery. Please reach out to Communications for help cropping photos.
- Read: How to Edit a Photo Gallery
-
Once you have logged in to edit your page, double click on the photo gallery. An “Embed content item” window will pop up:
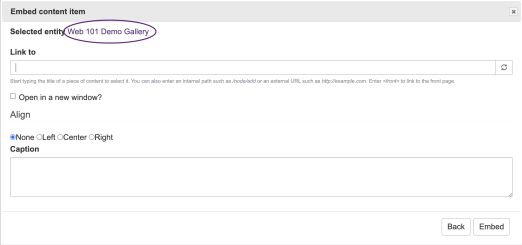
Click on the Photo Gallery Title. A new page will pop up.
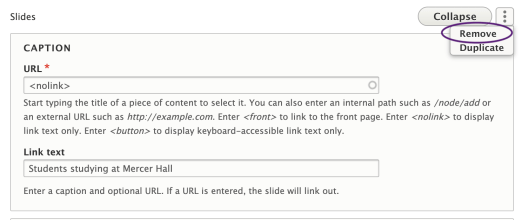
Click the “Edit” tab. You'll see the a page with fields and can edit the URL and Link Text. Change the photograph by clicking the x to remove it and choosing a new image to replace it.
If you want to remove an entire slide from your photo gallery, click on the three dots next to the “Collapse” button, and select “Remove” from the dropdown menu that appears.
As always, after any change you make, be sure to click Save at the bottom of the edit page.
- Watch: How to Edit a Photo Gallery
- Read: How to Make a New Photo Gallery
-
Click on Workbench on the black bar at the top of the screen.
Click on Create Content.
Select Gallery.
Create a gallery title. Choose one that's clear and distinct, so you can find it later. For example, if it is an annual event, include the event title and the year.
Fill in the fields for image, a caption, and URL.
- Image: Select “Add Media.” Choose your gallery-sized image from the Media Library. (If you need to upload a new image, see How to Add a New Photo to a Photo Gallery on this page.) Click “Insert Selected.”
- Caption: The text for your caption goes in the “Link text” field.
- URL: If you want the slide to link to another page, put the link in the URL field. If you do not want to link to another page, type <nolink> in that field.
To add a new slide click the Add Slides button. Another set of fields for an image, caption, and URL will appear. Six to ten slides are best for a photo gallery.
Once you are finished, you need to publish the gallery. (Please note: It will only appear where you place it.)
- Choose your Section. (This sets who will be able to edit the gallery).
- Check the Published box.
- Click Save.
To place the gallery on a particular page, go to the edit tab of that page, and click the Gallery icon on the toolbar:

- A "Select content item to embed" window will pop up. Start typing in the title of your gallery and select the correct title from the list that appears.
- Click Embed.
- Finally, be sure to save the page you're working on.
- Watch: How to Make a New Photo Gallery
- Read: How to Add a New Photo to a Photo Gallery
-
New photos have be properly cropped to be added to a gallery. If you have questions, please contact the Communications office (Rachel Burns at rachel.burns@nyu.edu).
To upload a new image, select Add Media.
Click Choose File, and then select your photo from your computer files.
The name for your photo should follow this format: Gallery_Title_001, with the numbers increasing in sequence for photos from an event. (If your photo has been cropped by Communications, the correct title will be the file name).
Be sure to add Alternative text, which is important to keep our web site accessible.
Click Save and insert.